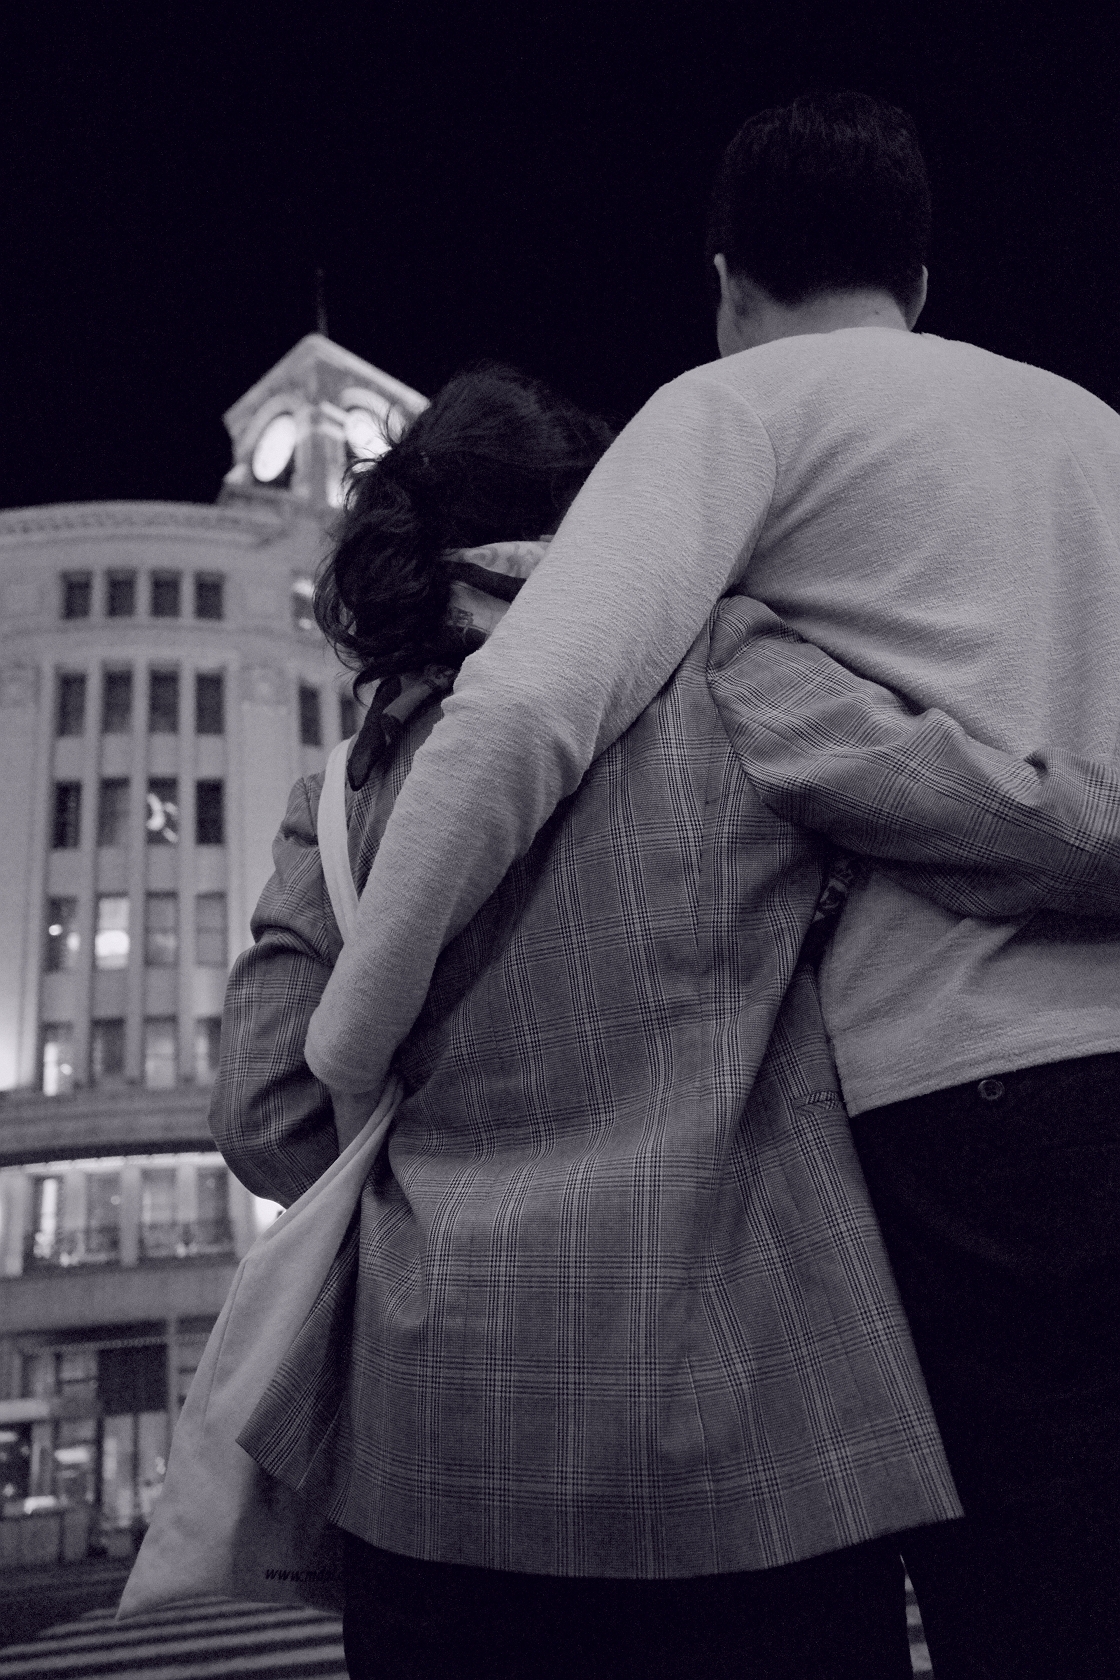
GRIII Mode Av F2.8 ISO8000 SS 1/320
Image control BW monotone
Hello, this is KYO.
Have you got your GRIII yet?
We are excited that we can at last share the examples and tutorials.
■ Let me introduce you to the black and white functions of the GRIII.
My main focus is on black and white street photography.
This time, I will talk about the four black and white expressions that you can select in Image Control and about their parameters.
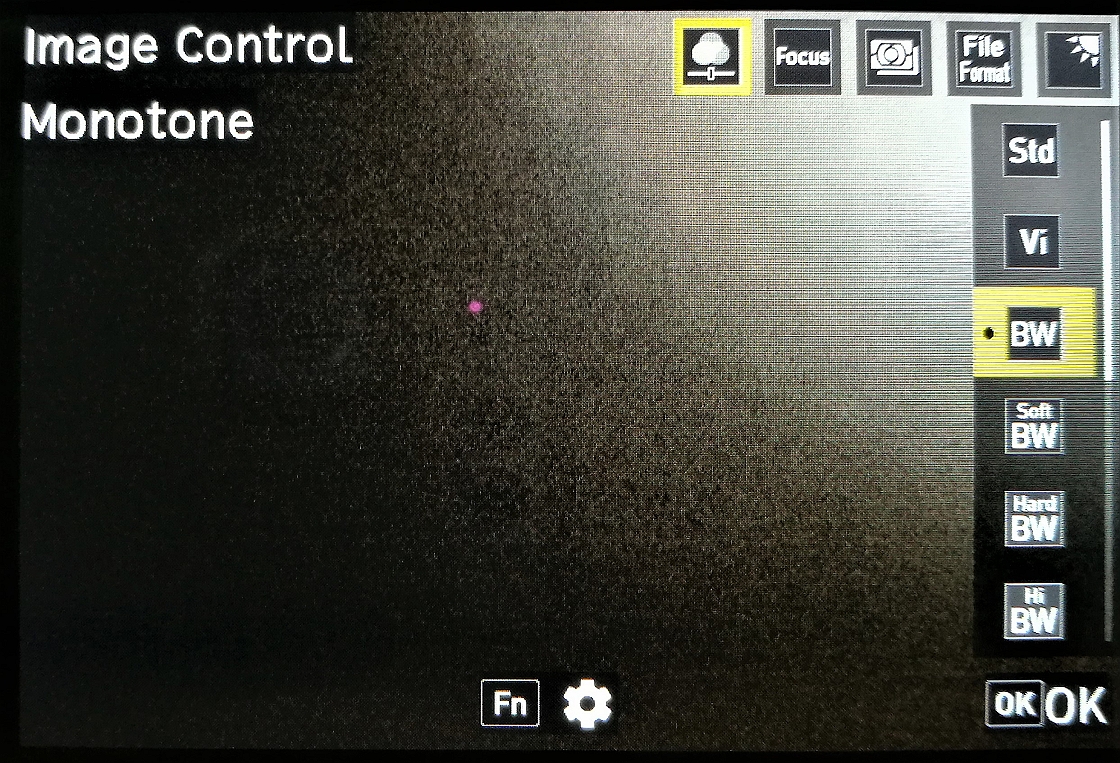
■ Four different tastes of black and white (plus detail adjustments)
By default, to choose Image Control, you press the ADJ lever.
There are Std and Vi color types to begin with, followed by four black and white types.
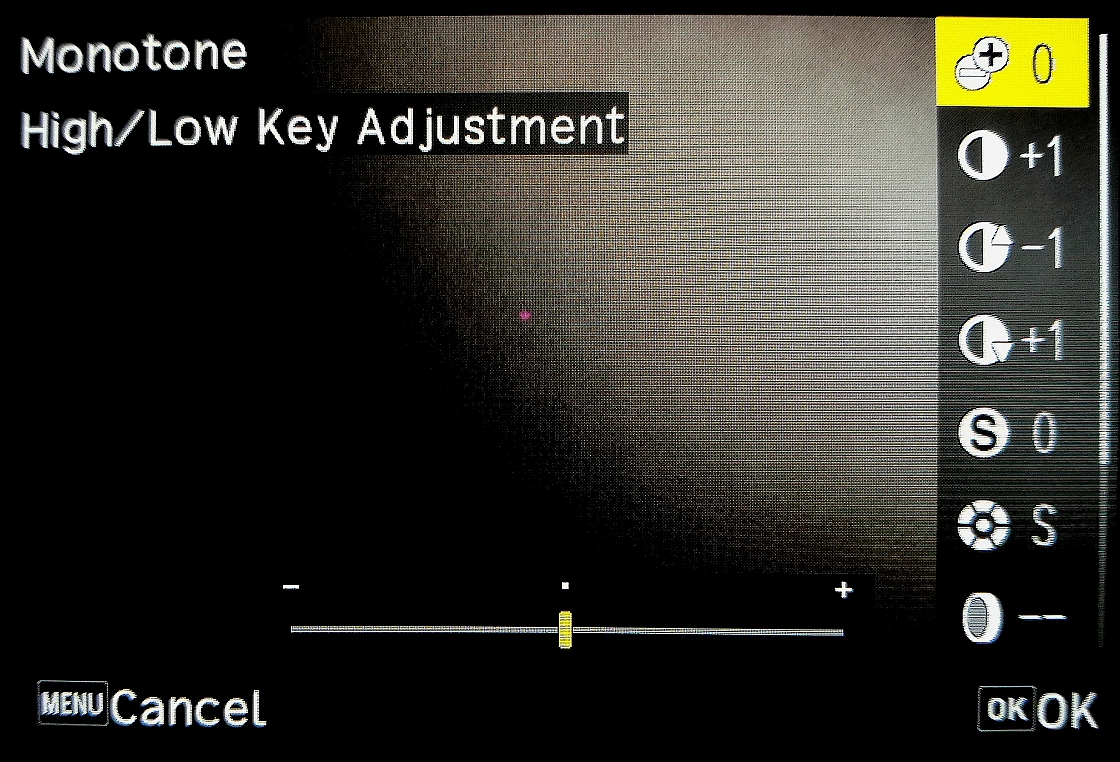
By pressing the Fn button in this condition, you can change various parameters as follows.
In this image, I’m adjusting the parameters of [BW] Monotone in Image Control.
The below is the table of parameter
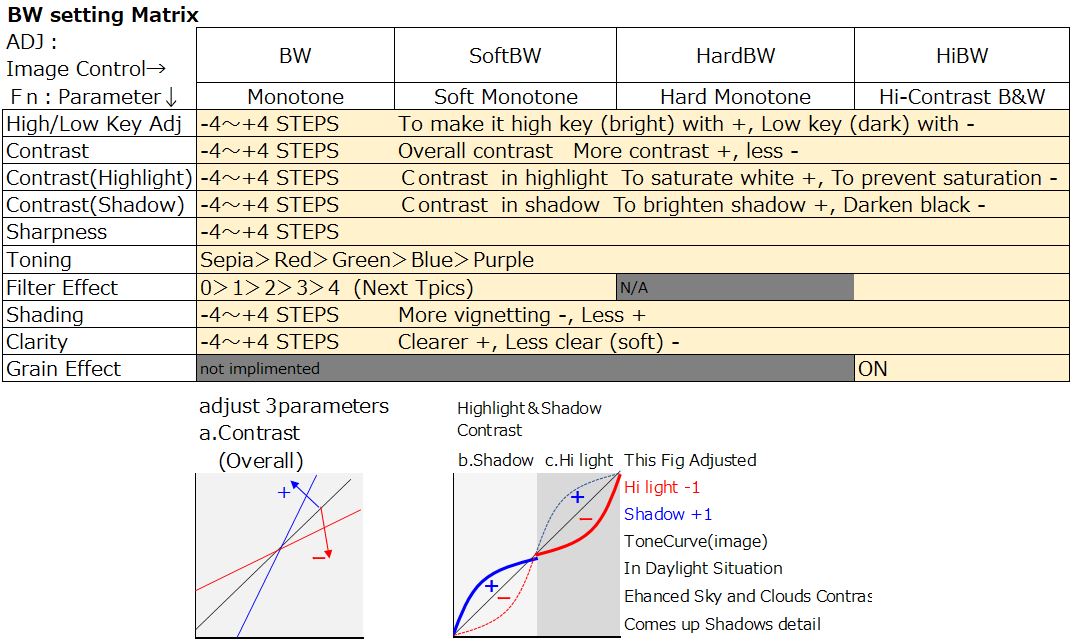
The GR III has new parameters- three of them are for contrast. The charts above are their tone curve representations.
In my case, I increase the normal Contrast by one, minus the Highlight and plus the Shadow.
By doing that, I emphasize blue color of the sky and white of the clouds and, at the same time, brighten the shadow to make the detailes more visible.
Look at the following examples.
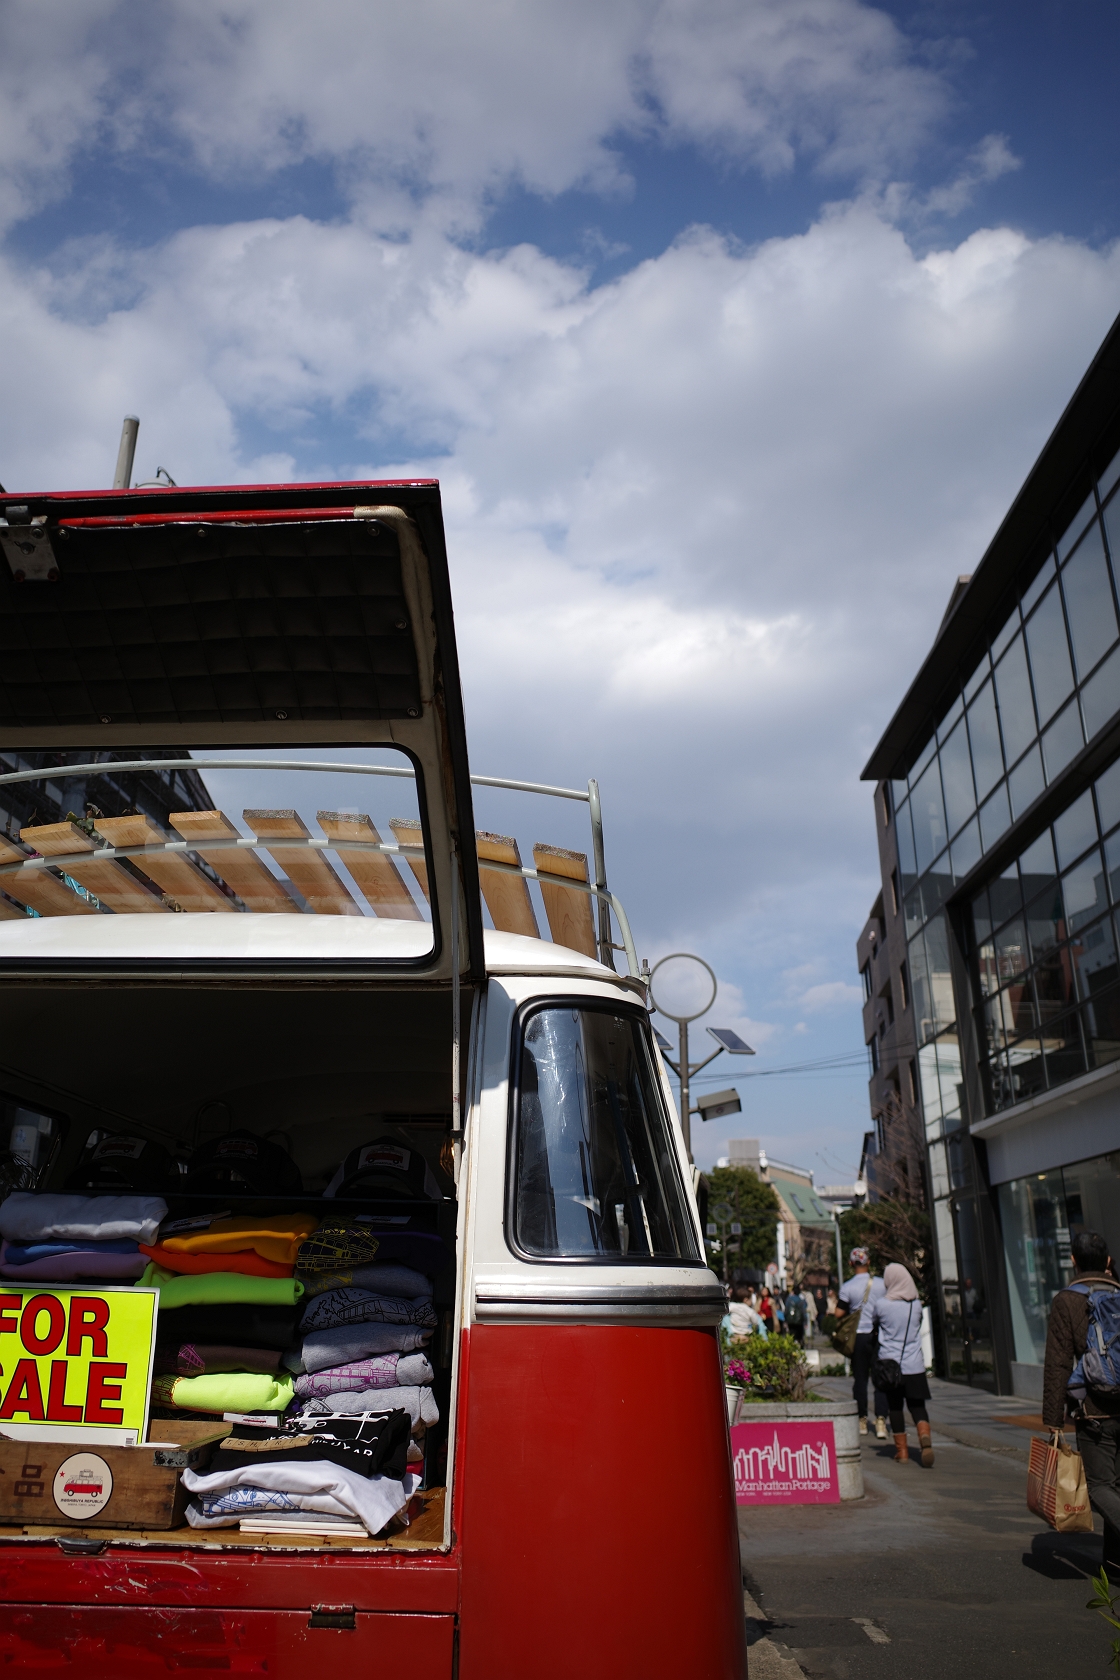
The color picture to begin with.
It is based on the [Std] standard of Image Control. I raised the saturation by one.
GRIII Av mode F2.8 ISO100 SS 1/2500
Image Control [Std] Standard
In case of
[BW] Monotone as below.
The toning is purple in this photo.
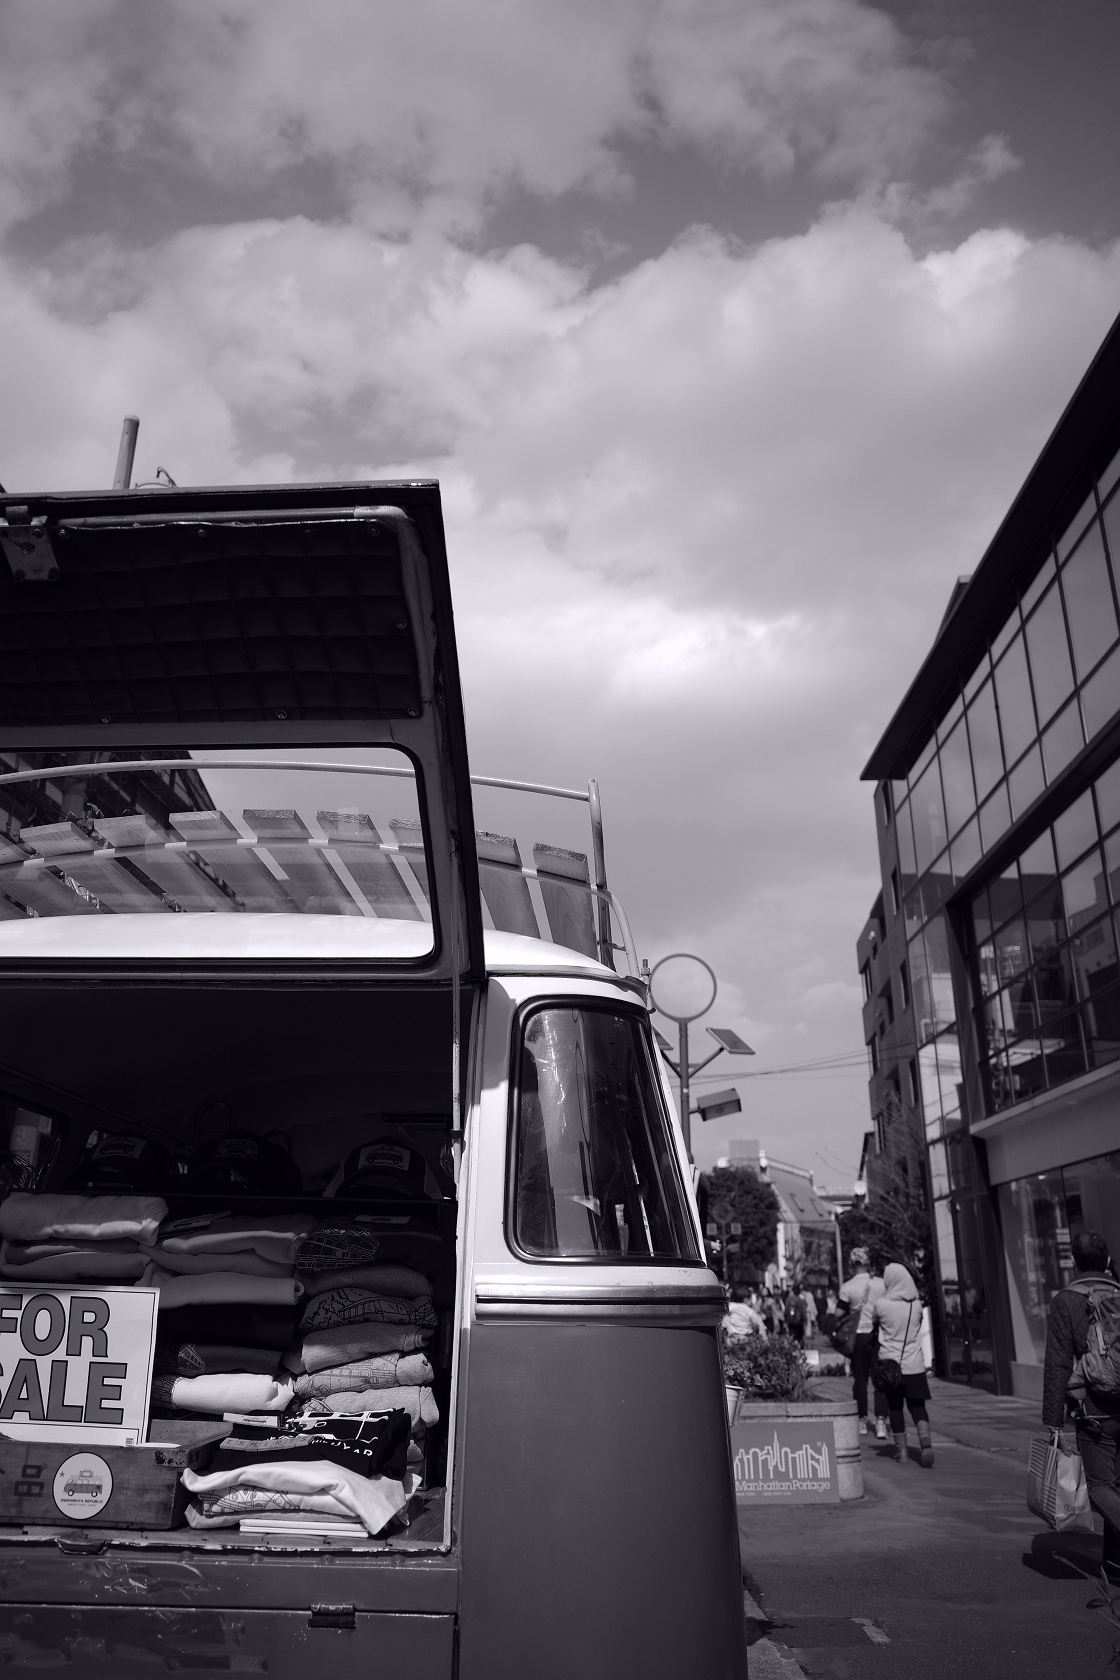
The weather was so good the image was sharp enough.
How about
[SoftBW] Soft Monotone?
Sepia toning and the Key Adjustment +1.
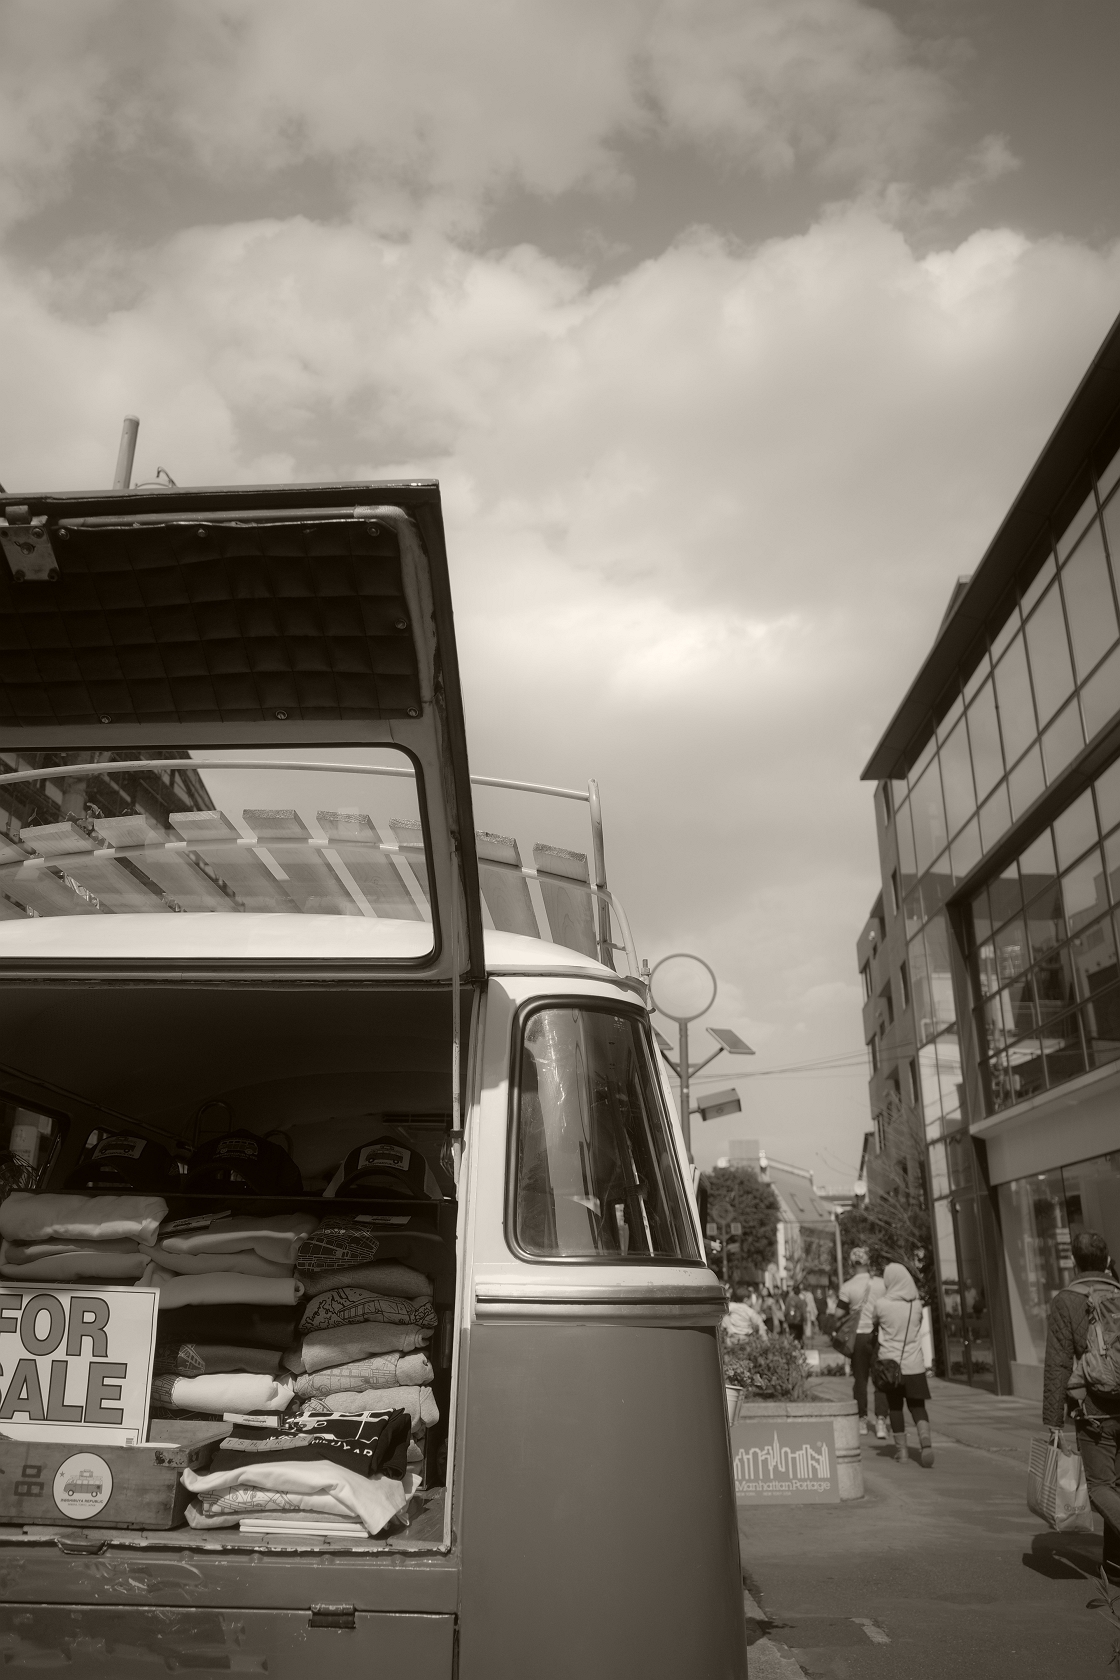
It’s got a rather soft impression.
Next
[HardBW] Hard Monotone.
The Key Adjustment -1 and purple toning to make it a cool tone.
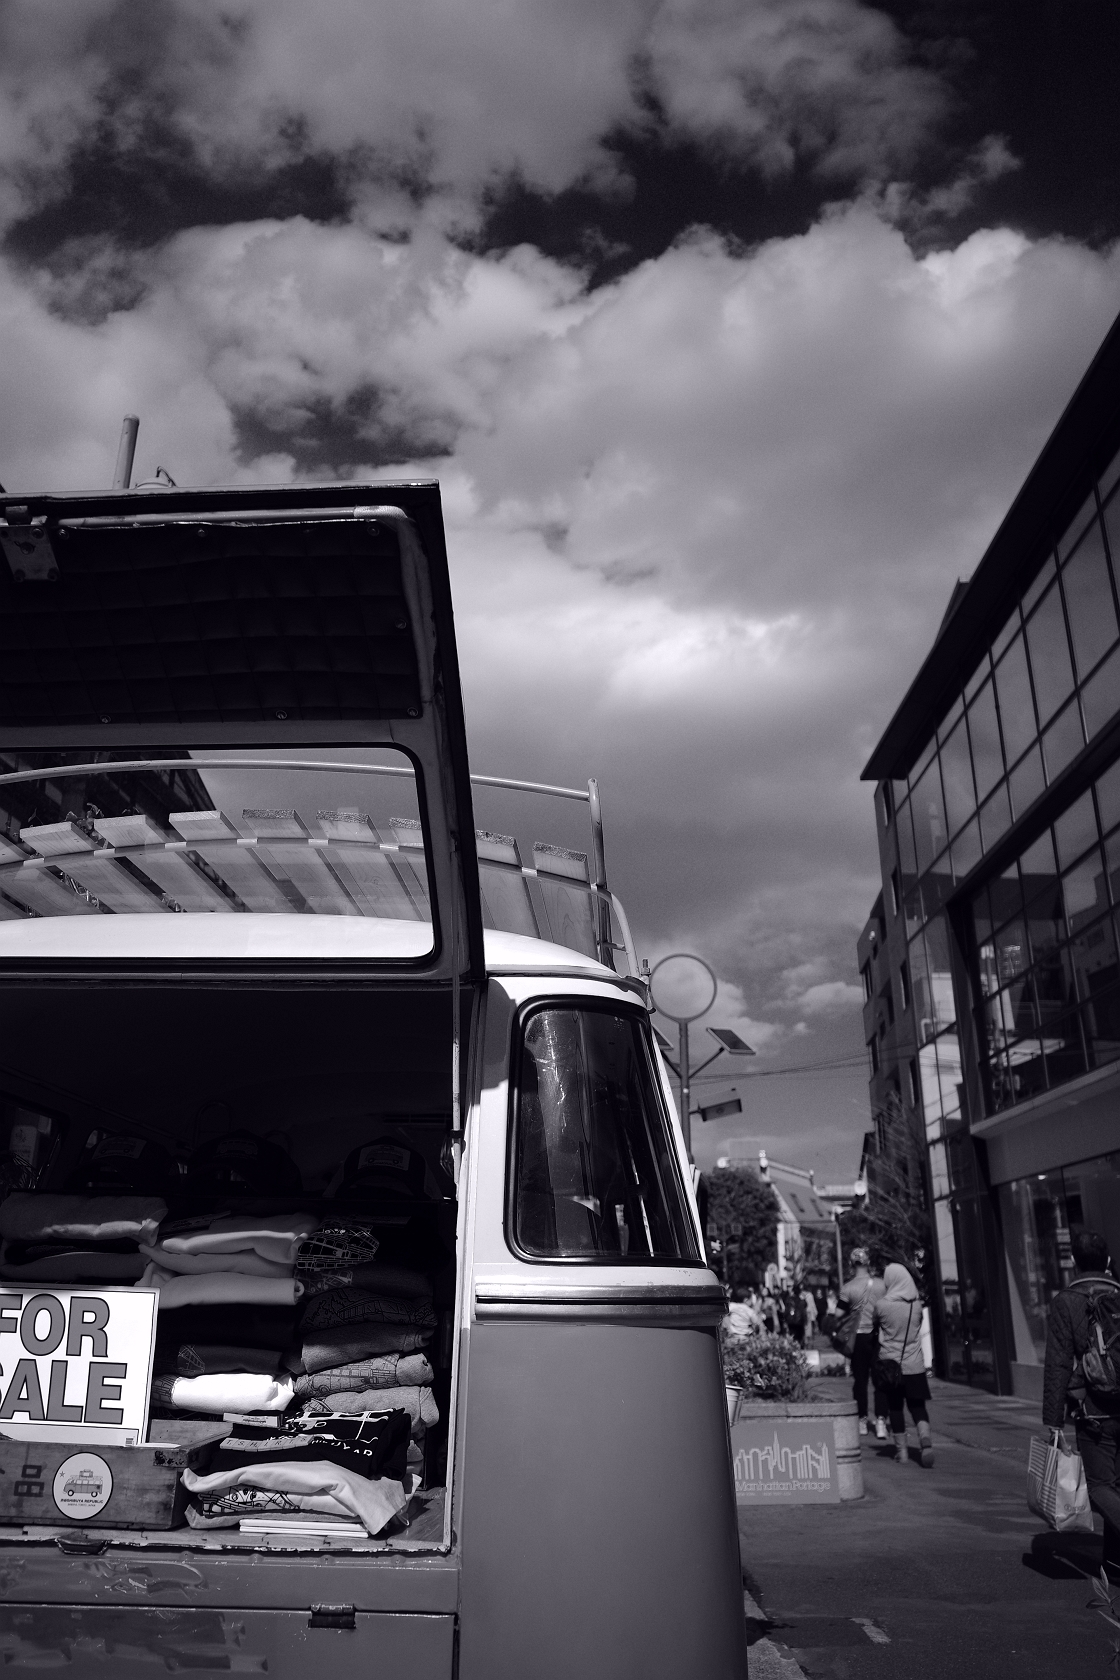
A very high contrast image. Pay a close attention to how it differentiates the sky and clouds. The ray of sunlight cast onto the car is remarkable.
Next
[HiBW] Hi-Contrast B&W.
It is without toning. You can have Grain Effect in this preset.
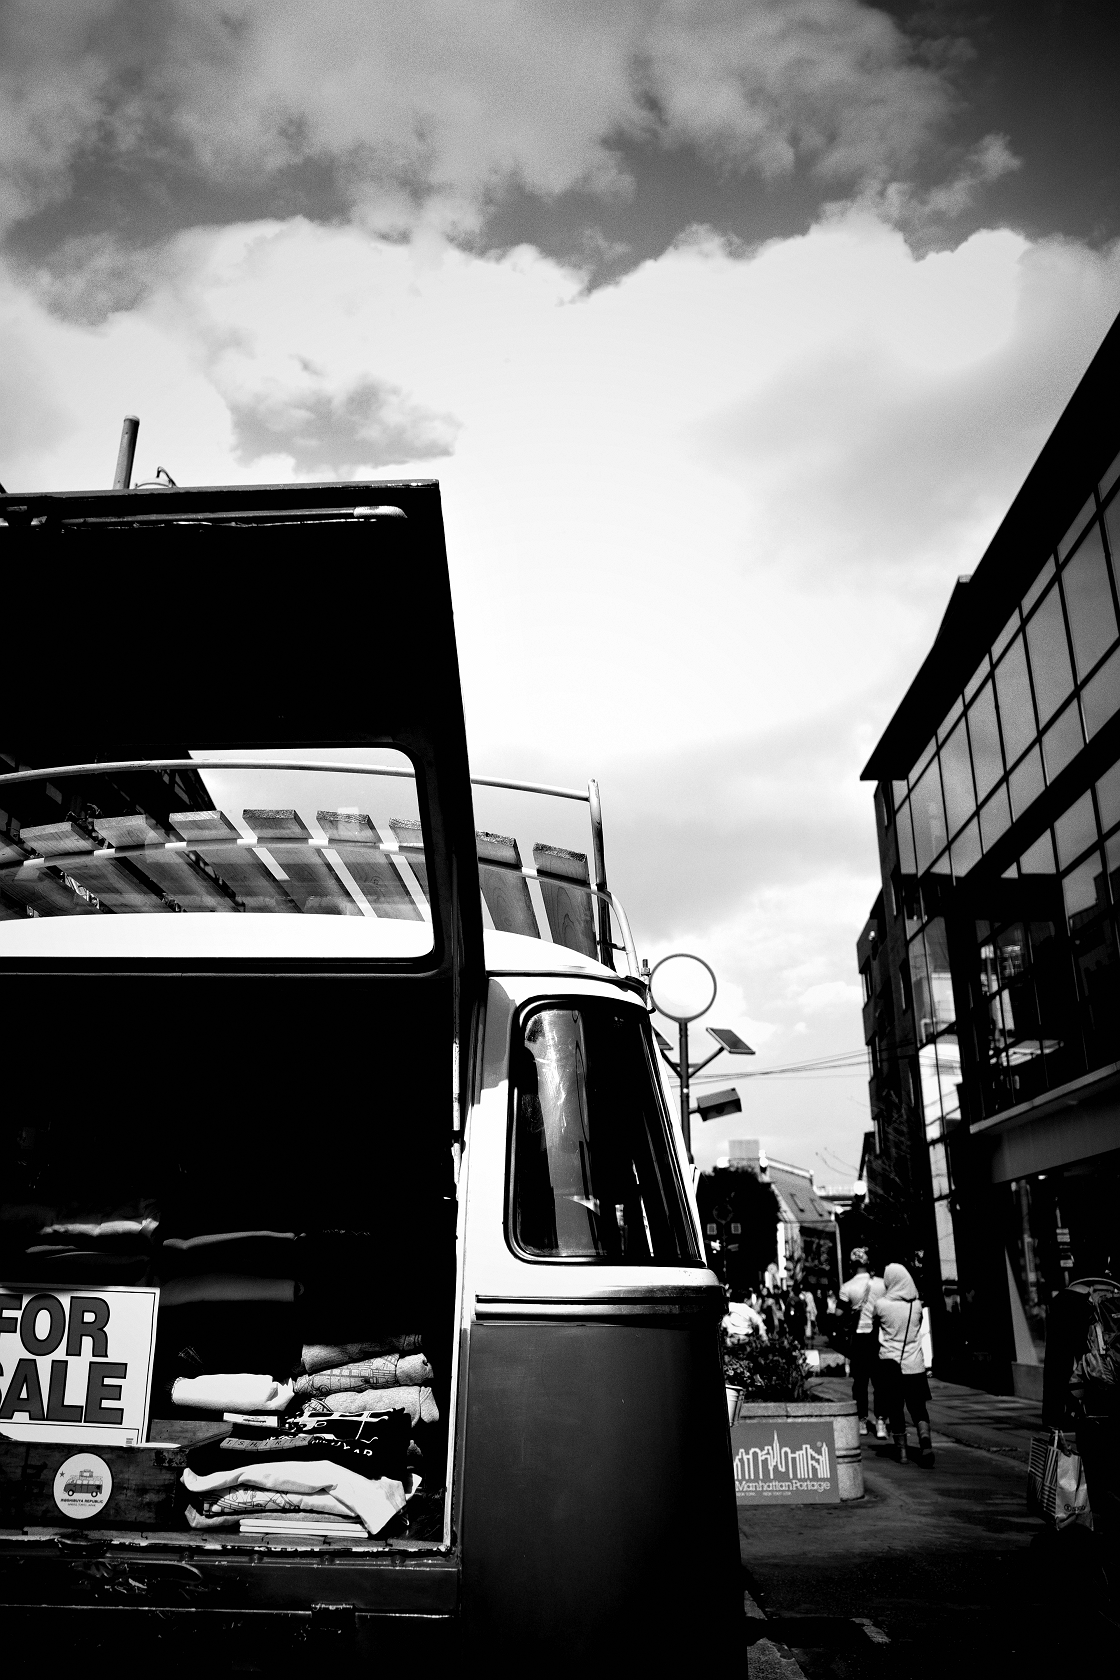
It can be very bold.
In addition, you can choose black and white in the detail parameter (Toning) of [HDR] in Image Control. This is noteworthy.
Here is the example.
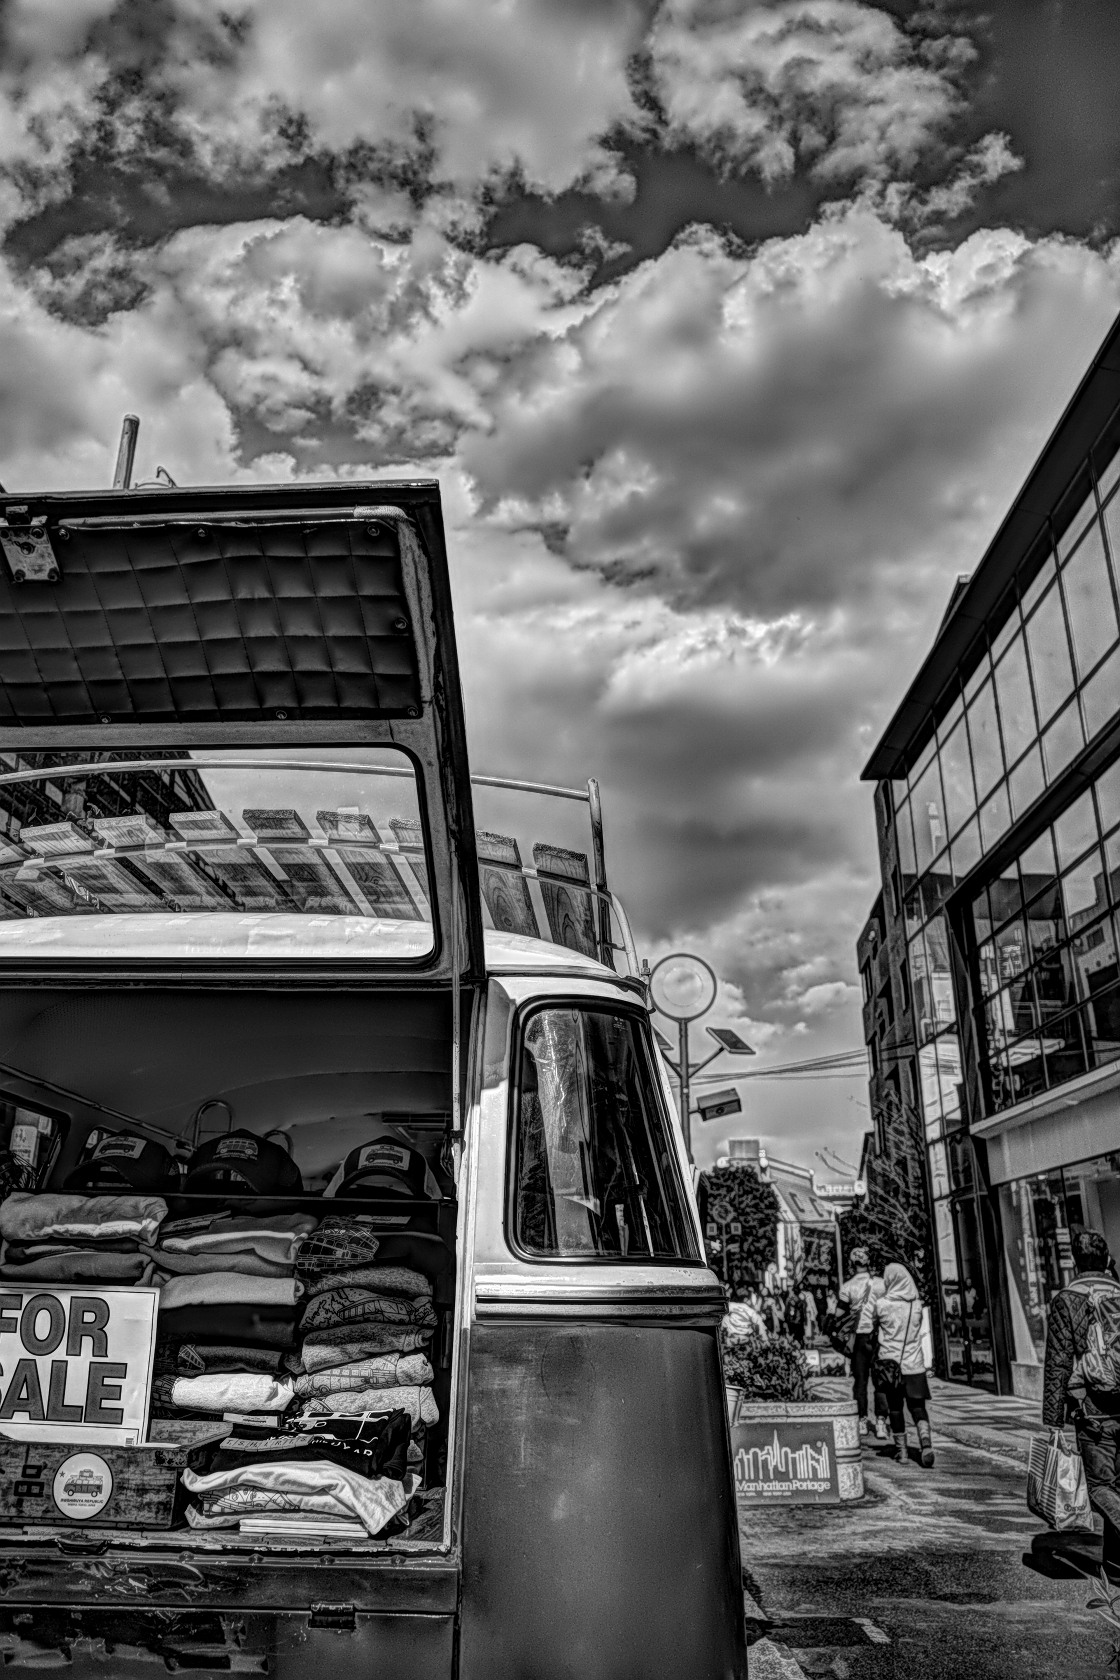
After applying the HDR, I noticed that the RAW data has enough detail information of the inside the car to depict in HDR.
What did you think?
You can make as much adjustment as you like. Once you have a setting you prefer, register it to your user setting. Try to share it with an example on social media too.
There are too many functions and settings to cover about black and white alone.
I will share with you again next time.
See you.
(KYO)


