

(Translated from the original post on December 12, 2023)
Hello, this is KA-TSU.
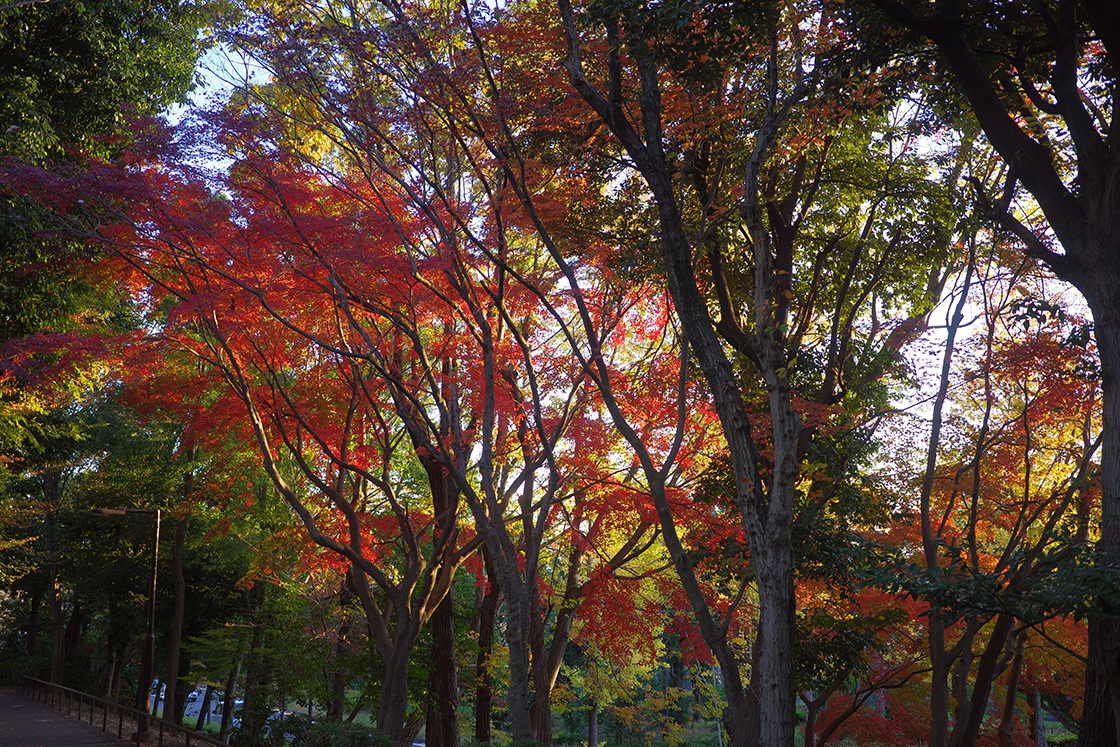
This year's autumn leaves have not fully turned red, probably because the hot season lasted so long that it did not cool down even in November. In the inland area of Yokohama where I live, the ginkgo leaves are turning yellow now, but the maple leaves are not turning red. Nevertheless, I walked along the greenways and parks in my neighborhood to take pictures.
When it comes to autumn leaves, when I see the leaves bathed in light from low angles in the evening or morning, or when I see the leaves with light filtering through them, I am tempted to click the shutter. However, "where there is light, there is shadow. Photos taken in scenes with a strong mix of light and dark often make the dark area look darker than it is.
This is where the Shadow Correction comes in handy.
It is located deep in the menu, via Still Image Settings → D-Range Correction → Shadow Correction.

In RAW development, Shadow Correction appears at the very bottom of the TOP menu (just press the UP button once).
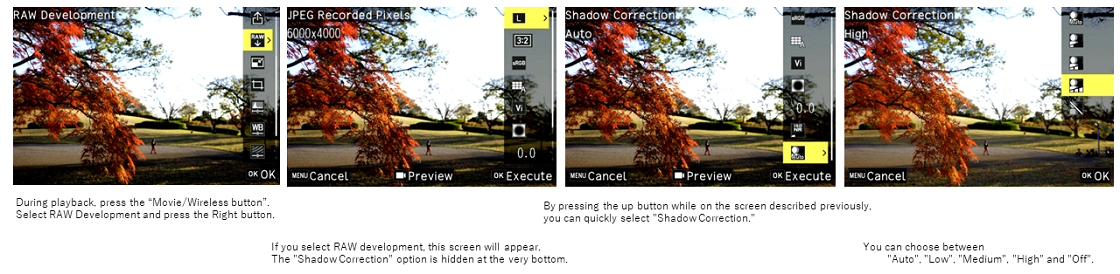
In my case, I leave it at the default Auto setting because it can be difficult to use if the settings are set before the shot. I shoot in RAW+ and correct shadows in RAW development if necessary.
You can also go to Image Control → Contrast (Shadow) to correct the shadow tones in the RAW development process.
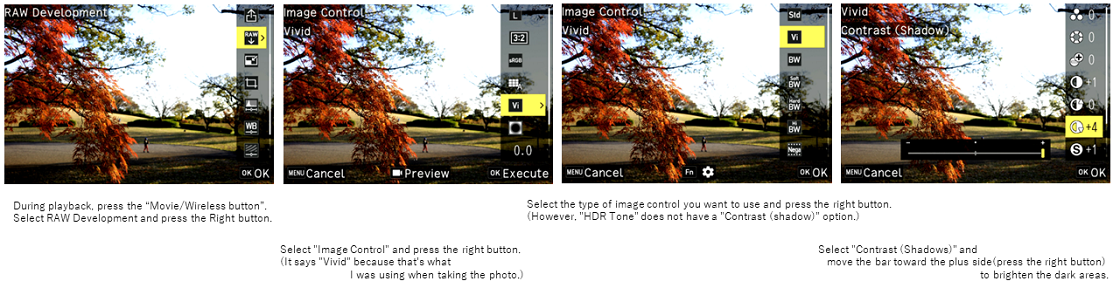
This is less effective than Shadow Correction, but can be used in conjunction with it.
In a scene such as the one in this example, Shadow Correction High is usually sufficient enough, but there are cases where you may want to brighten the dark areas a little more. In such a case, the combination comes in handy. I informally call it "Shadow Correction Burst."
Below is a comparison of "Shadow Correction Auto," "Shadow Correction High," and "Shadow Correction Burst" in several scenes.
No one but me, who was there, can tell which is closer to the impression of a real situation. The closeness of the impression and the quality of the finished product are two different things. Since people have different tastes, please look at this from the perspective of comparing the effectiveness of the features.
First, two examples of sidelight.

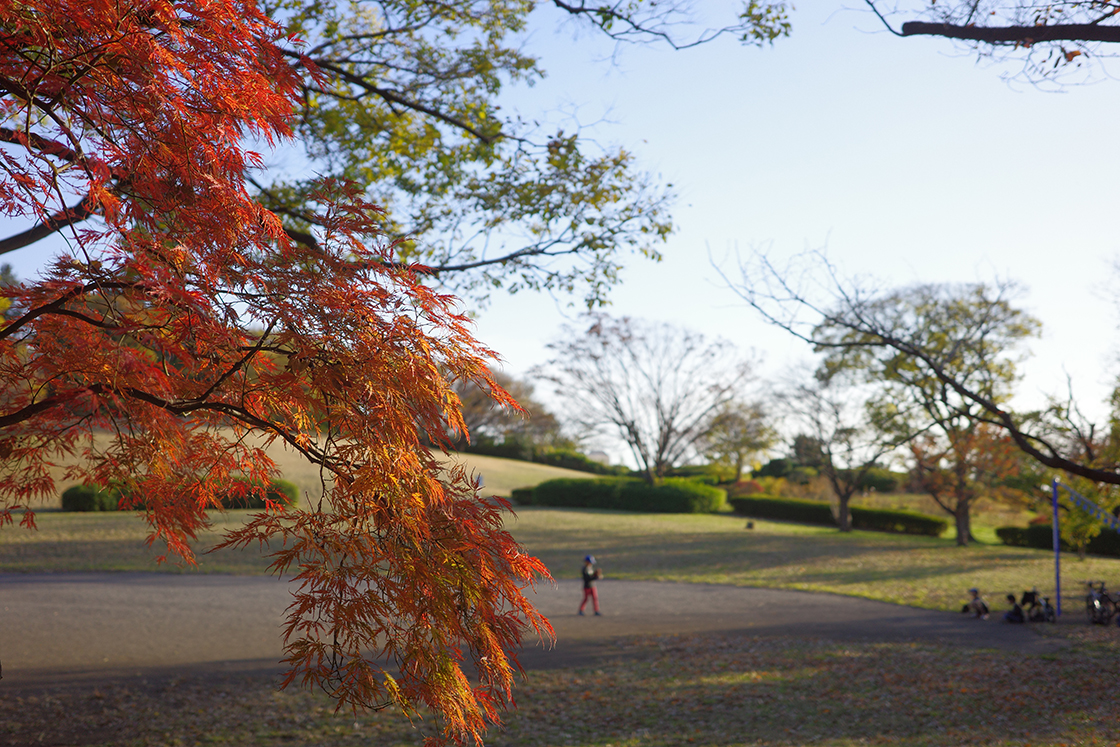

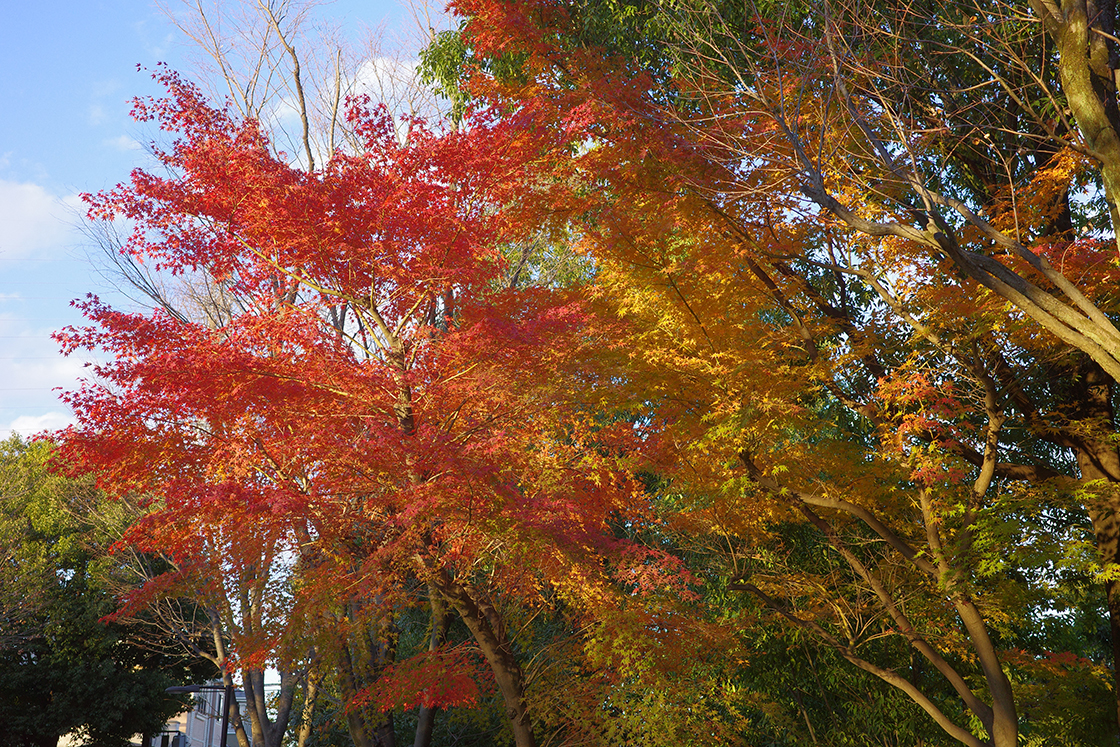
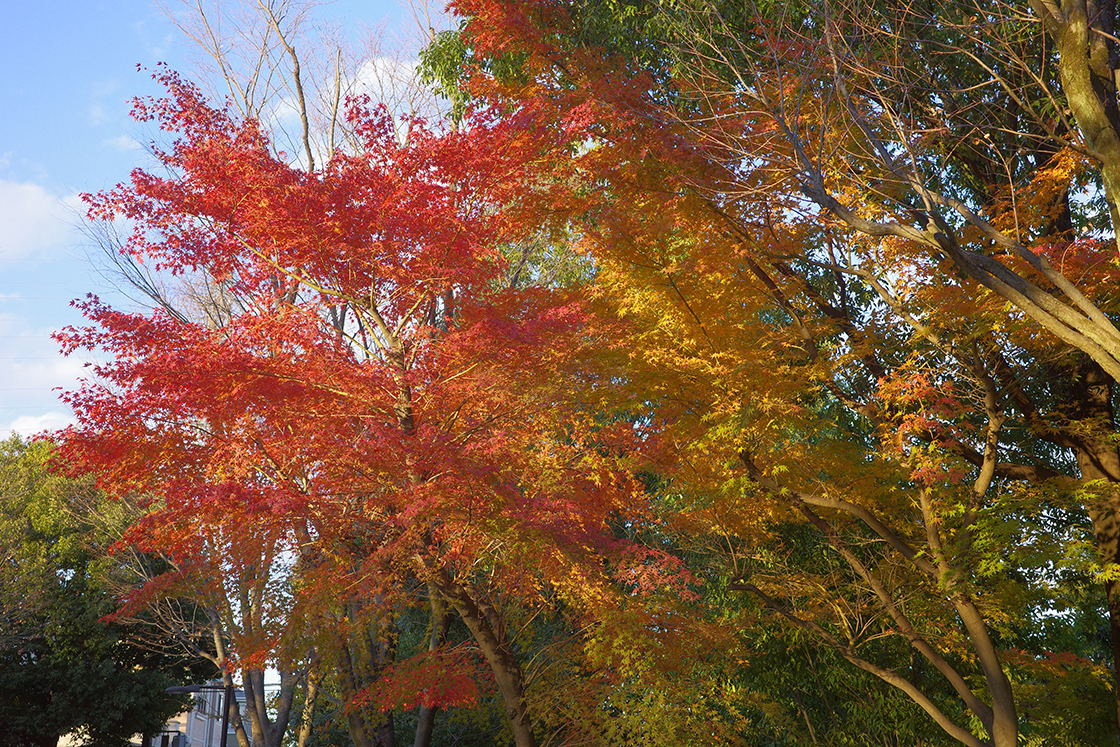
Coincidentally, in both examples, the third one, "Shadow Correction Burst," is closer to my impression.
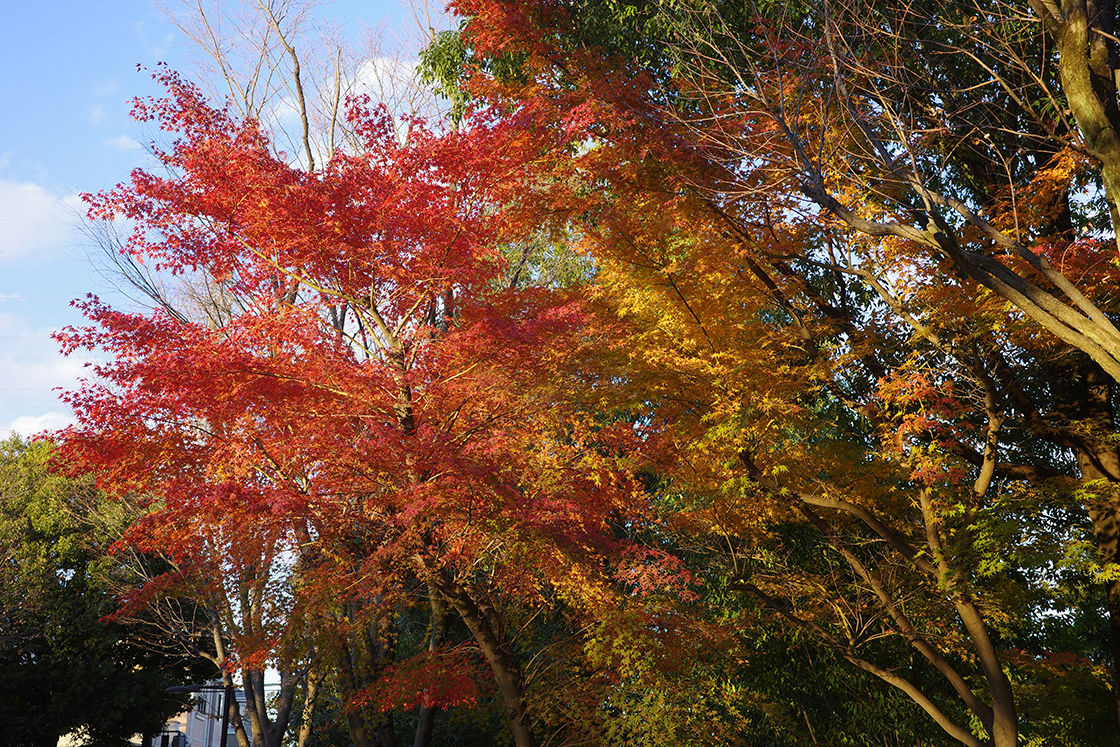
Next, two examples of transparent light cases.
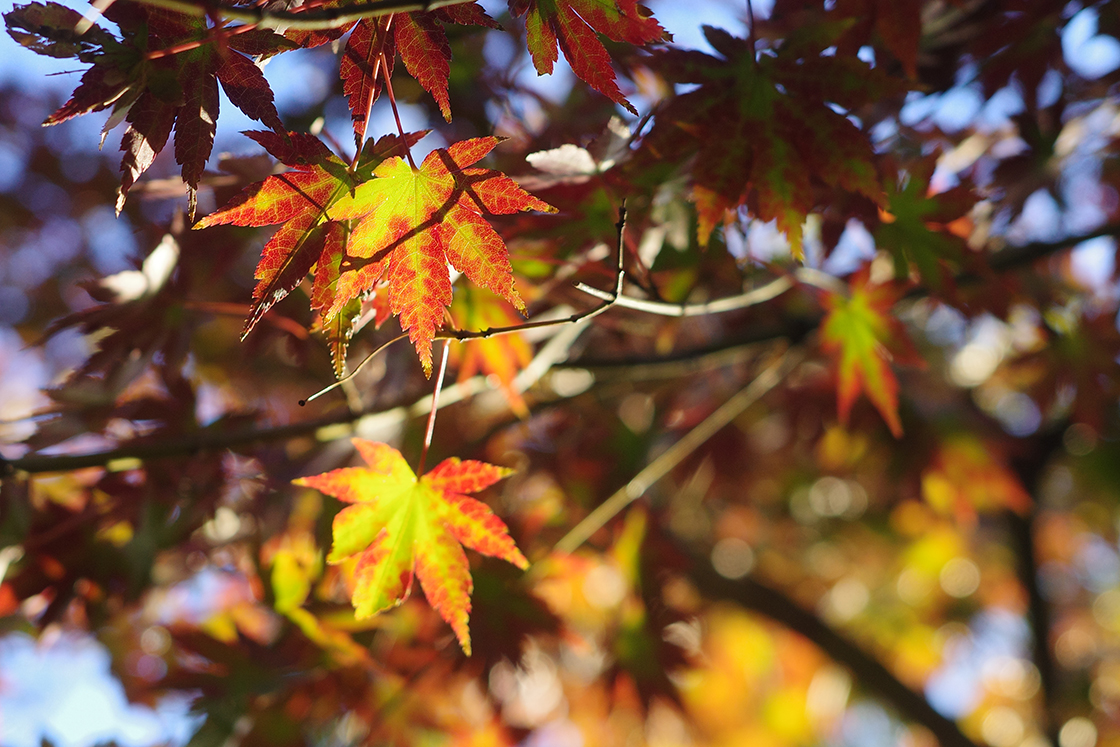

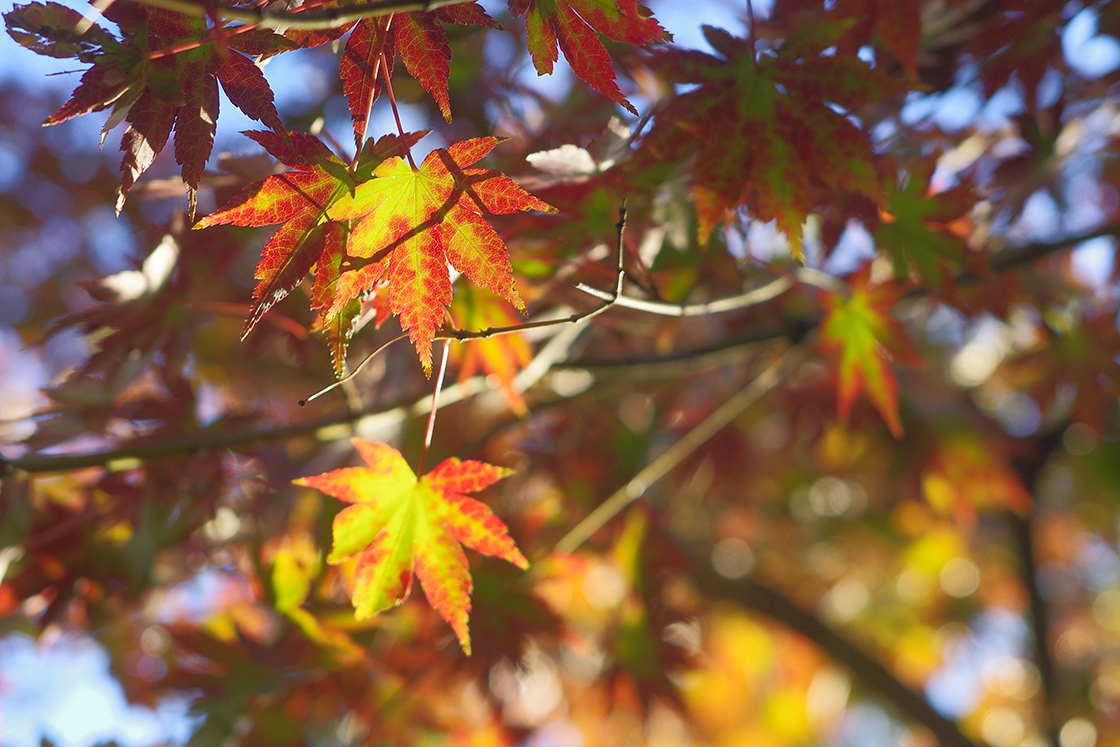
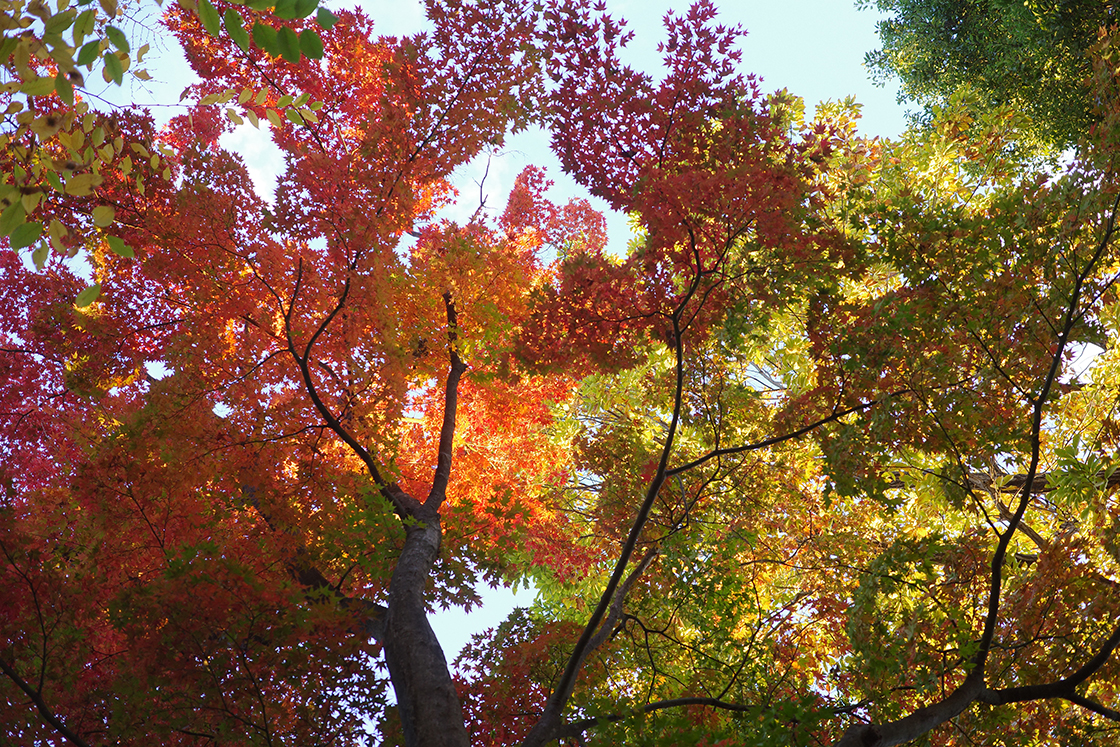
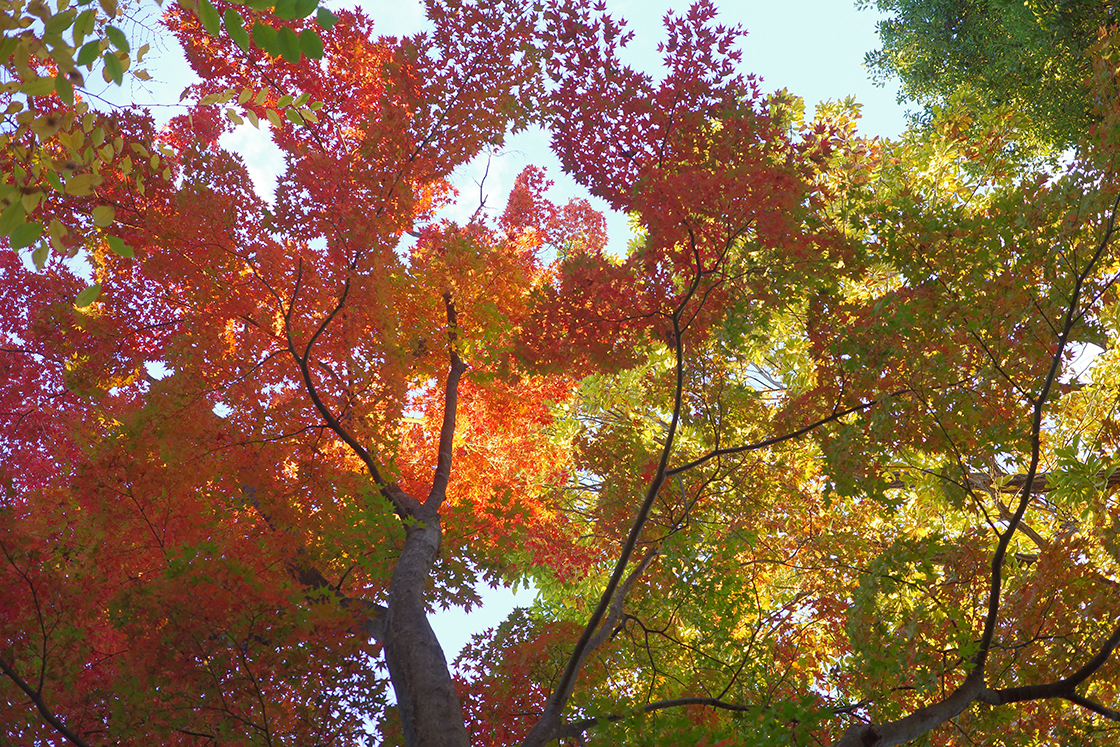

Again by chance, in both cases, the second one, "Shadow Correction High" was close to my impression.
Finally, two examples where the area became darker and there were more shadows overall.

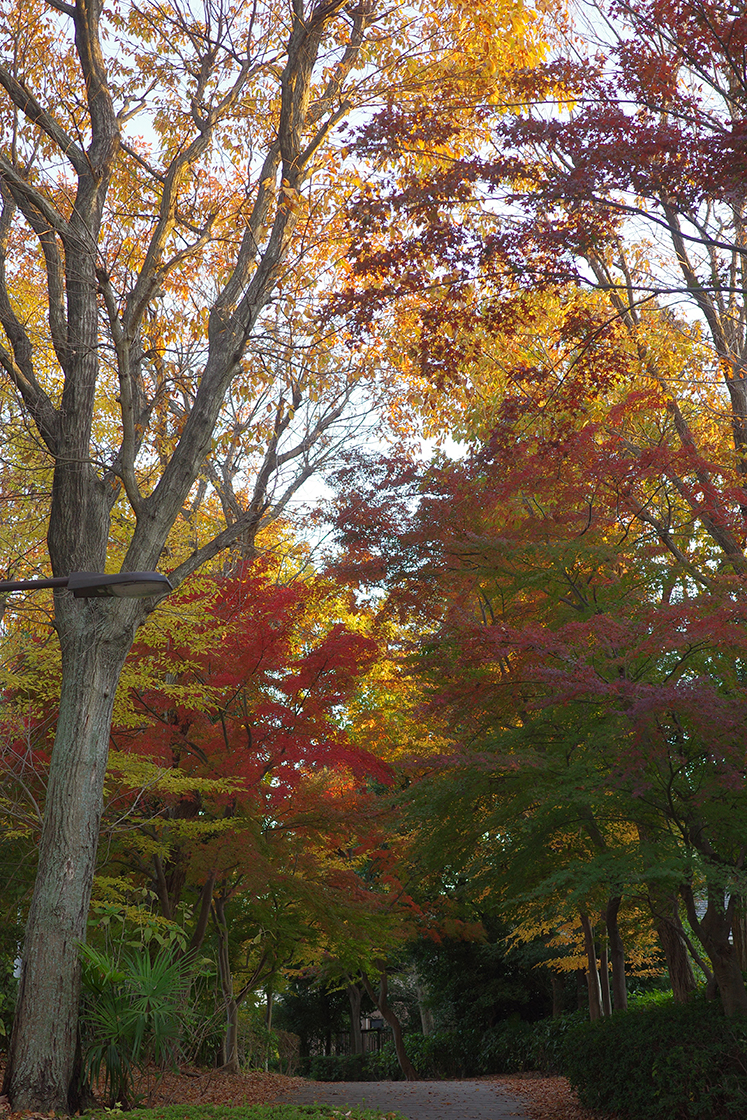

Strong light is shining on the tops of the trees. In this case, the second "Shadow Correction High" came close to my impression.
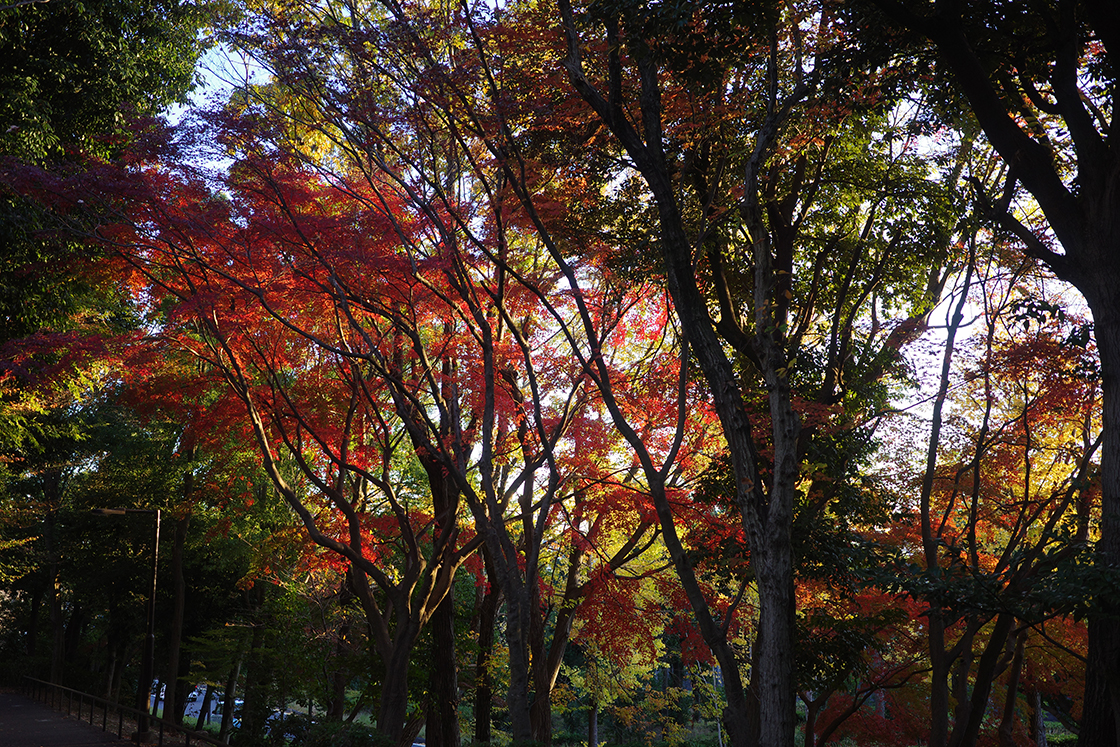

Near the center, the light comes from the side, but there is a strong sense of transparency.
In this case, the third one, "Shadow Correction Burst," produced a result close to the impression.
Autumn leaves are not the only case where strong brightness and darkness are mixed. In the near future, it will be useful when taking pictures of the illumination during the holiday season and the first sunrise of the new year.
Try this method in situations where you feel the shadows are too dark.
(KA-TSU)


